Garlic chutney
Dry Garlic chutney/ Lehsun Chutney powder

Garlic chutney

Garlic chutney

Tarri poha

Meetha Poha Prasad

Kabuli chana prasad

Kesar Elaichi Shrikhand
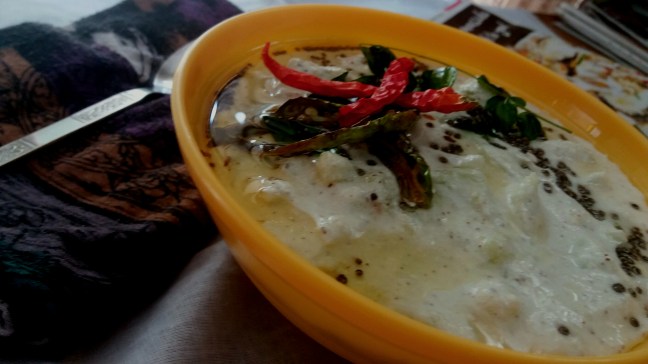
Cucumber Raita
Zunka is a very famous dish belonging to Maharashtra region.Main ingredient is besan (chickpeas flour),there are two versions of this one is pitala (gravy)and dry one is zunka,a very simple dish to make with full of flavours.lets see what goes in making this simple zunka Ingredients 1 cup besan(chickpea flour) 3 to 4 tsp oil(this … Continue reading Zunka (How to make zunka)
