
Hey everyone hope you all are doing fab, I am here with a little different topic today as the title suggests we keep counting on every calories we have but do we really work hard to control them, for me I can say am kind of conscious to a little extend for what i eat … Continue reading Every calories count…You don’t have to worry
Bun Maska

Bun maska
Falafel recipe

Eat good andfeel good -Sadhana Mishra Have you heard about Falafel or eaten, I guess many of you might have tasted this dish. How many of you have tried making this at home or searching for any easy recipe, then you are in the right place, go ahead and do enjoy by reading and cooking. … Continue reading Falafel recipe
Hare matar ka chivda

If you have a UPite or bihari friend you will definitely know what is matar ka chivda and if not I'll explain it you. What is Matar ka chivda Winter is the time when new poha or flat rice is harvested, this new poha or chivda tastes much sweeter than the old ones and blends … Continue reading Hare matar ka chivda
Gobi paratha
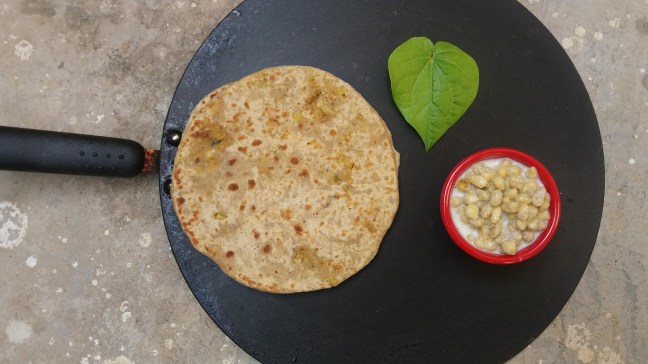
Gobi paratha
Tarri poha/chana poha

Tarri poha
Chinese Bhajiya roll

Chinese bhajiya roll
Aloo masala sandwich/How to make spicy potato sandwich
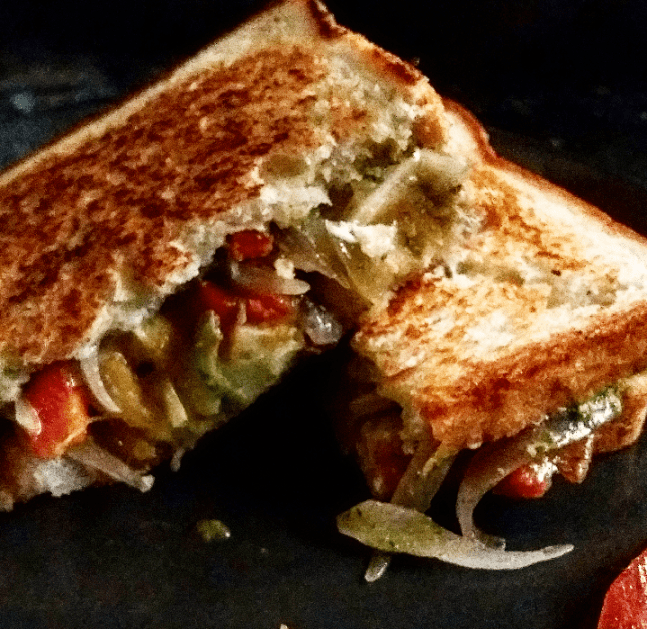
Aloo masala sandwich
Roti pizza/Leftover roti pizza

Roti pizza
Lauki bhajiya/bottlegourd fritters/How to make Lauki bhajiya

Lauki bhajiya
Cheese masala toast
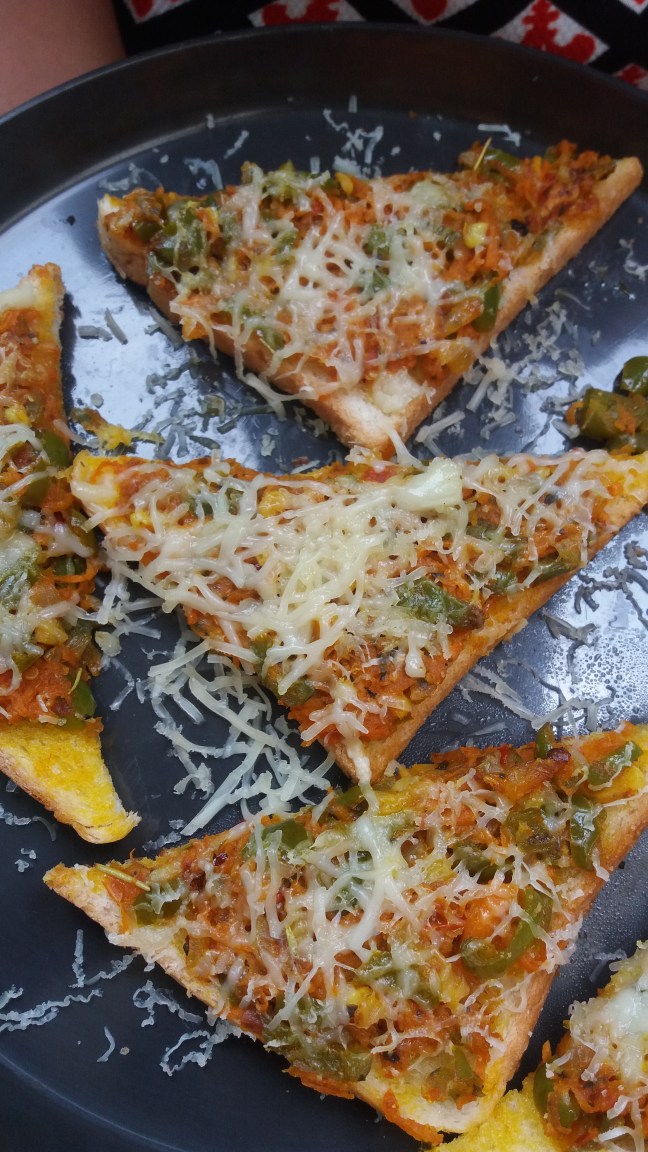
Bread in any form is yum,made these masala toast with some leftover vegetables in the kitchen. As you might have read in my earlier posts ,my basic intention is making my twins eat everything, so here's another recipe with my favourite sabzis and there favourite cheese 😃in the name of cheese you can make them … Continue reading Cheese masala toast
Leftover Roti wrap/How to make Roti roll

ROTI WRAP
