
Honey Potato crispy
Vratwale Honey Potatoes crispy recipe

Honey Potato crispy

Honey Potato crispy

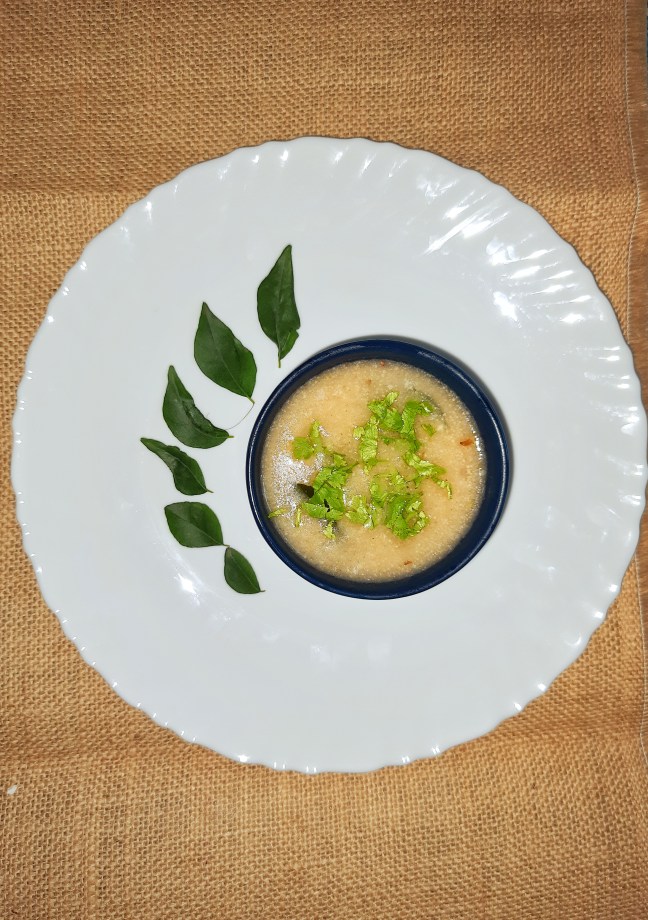
water chest nut flour halwa
Farali Kadhi recipe
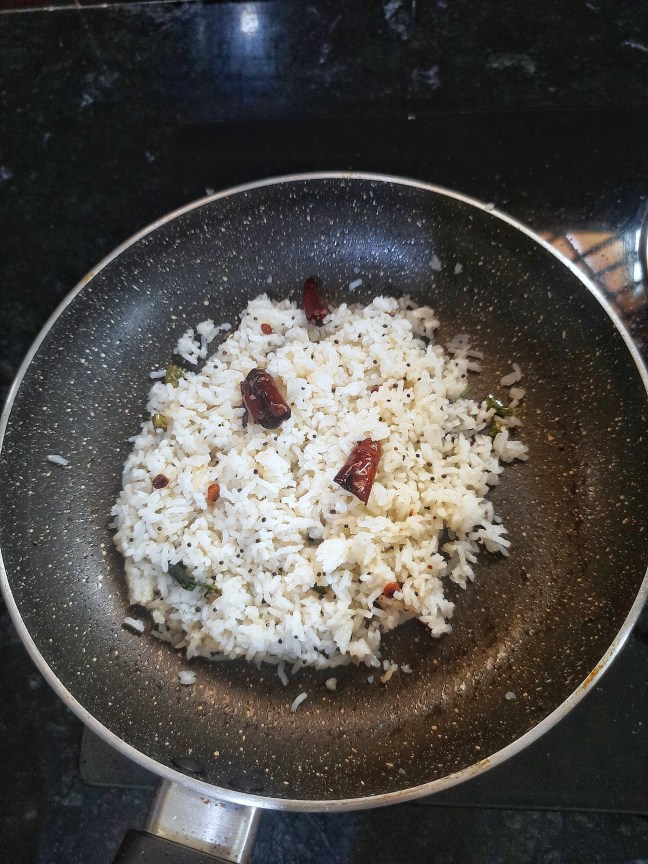
Ghee Rice Tadka

Shinghare ki roti

Bajra ki roti

Paneer recipe without garlic n onion

How to make Gulkand recipe
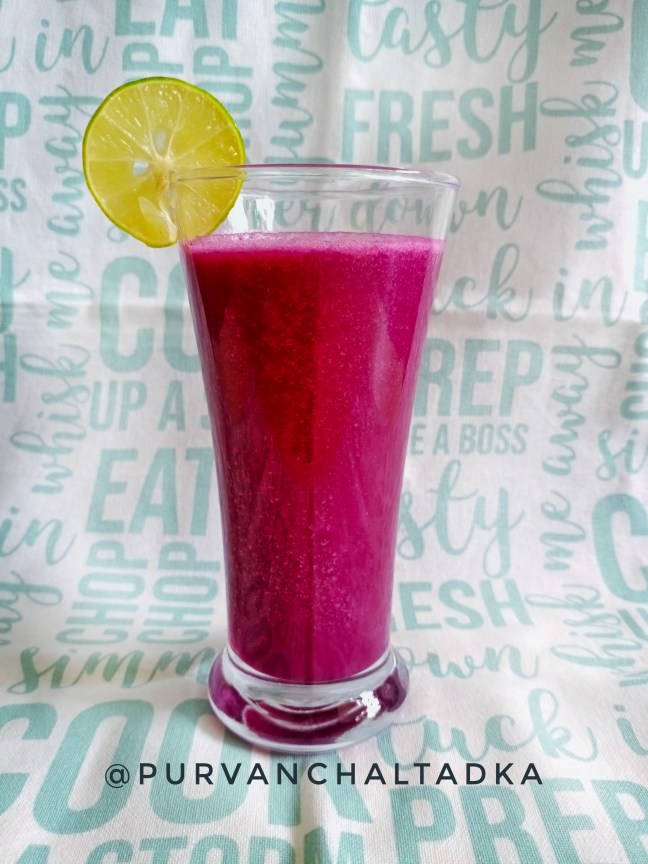
Kala Jamun juice
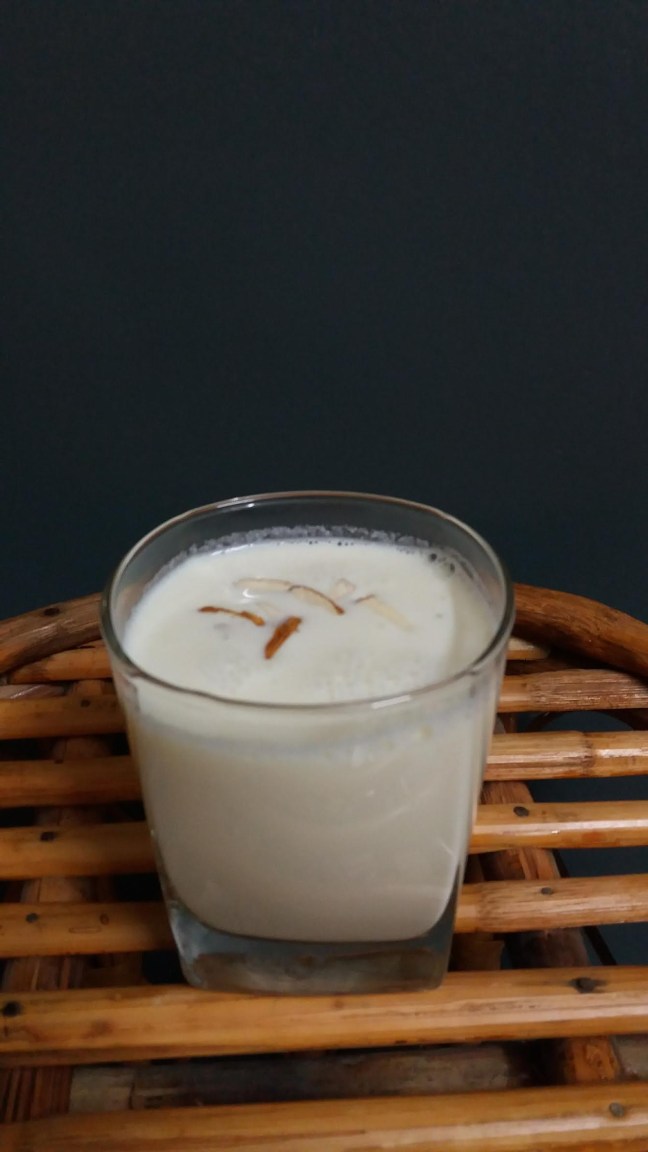
Badam milk

Kesar doodh/saffronmilk

Sauted green peas
